Ti-E Perfect Focus Usage and Troubleshooting
On this page
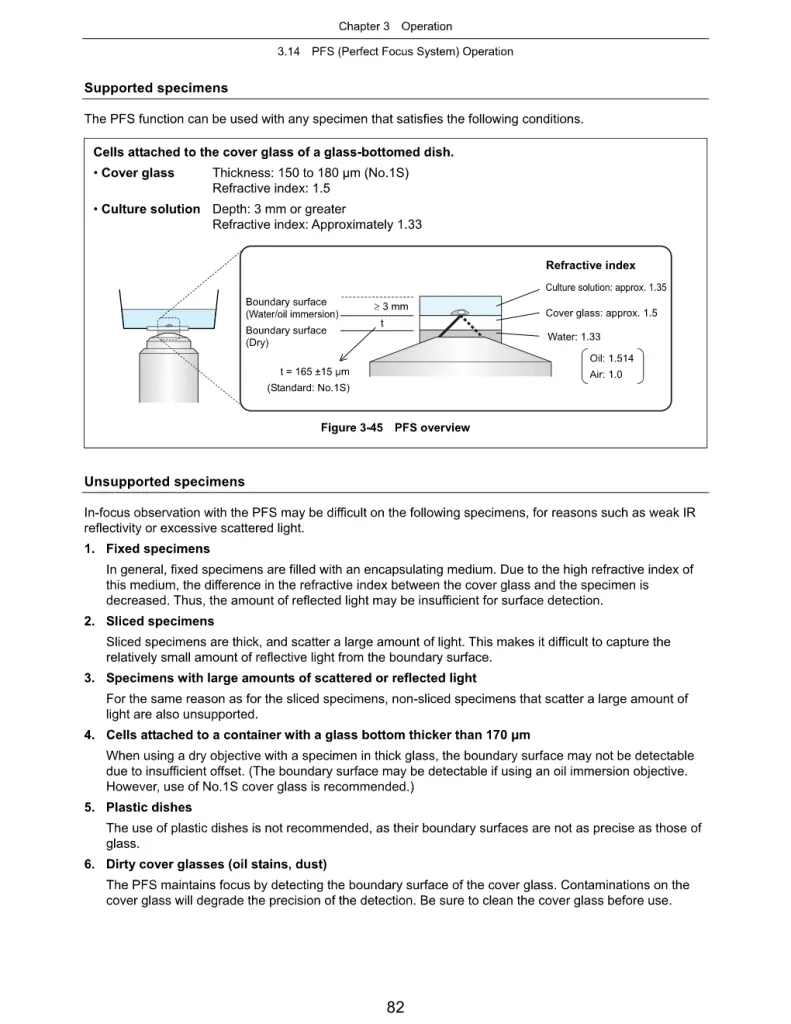
The Ti-E PFS is an excellent automatic focusing system. Using the system hinges on one key aspect: The NIR LED used for focusing.

The PFS is basically a laser reflection system. A near IR LED is delivered into the back of the objective, and emitted into the specimen. When the light hits a refractive index change of a sufficient value, some of the light is reflected and bounces back into the objective. This point of reflection is then sampled on a linear CCD array, becoming the reference position for measuring the distance between the objective and the specimen (or a measurement of the distance between the objective and the RI change).
So: what is required for the system to work?
- Refractive Index change sufficient to cause reflection.
- NIR Blocking filters that stop other sources of NIR (800nm+) light from entering the optical path.
- Specimen can not cause excessive light scattering (thick tissue sections will do this)
- Coverslip, or glass bottom dish with a thickness specification of No.1S.
- An objective compatible with the PFS system.
- Proper information on the objective entered into the microscope hub.
Nikon has a more specific explanation of the PFS requirements and operational theory below:
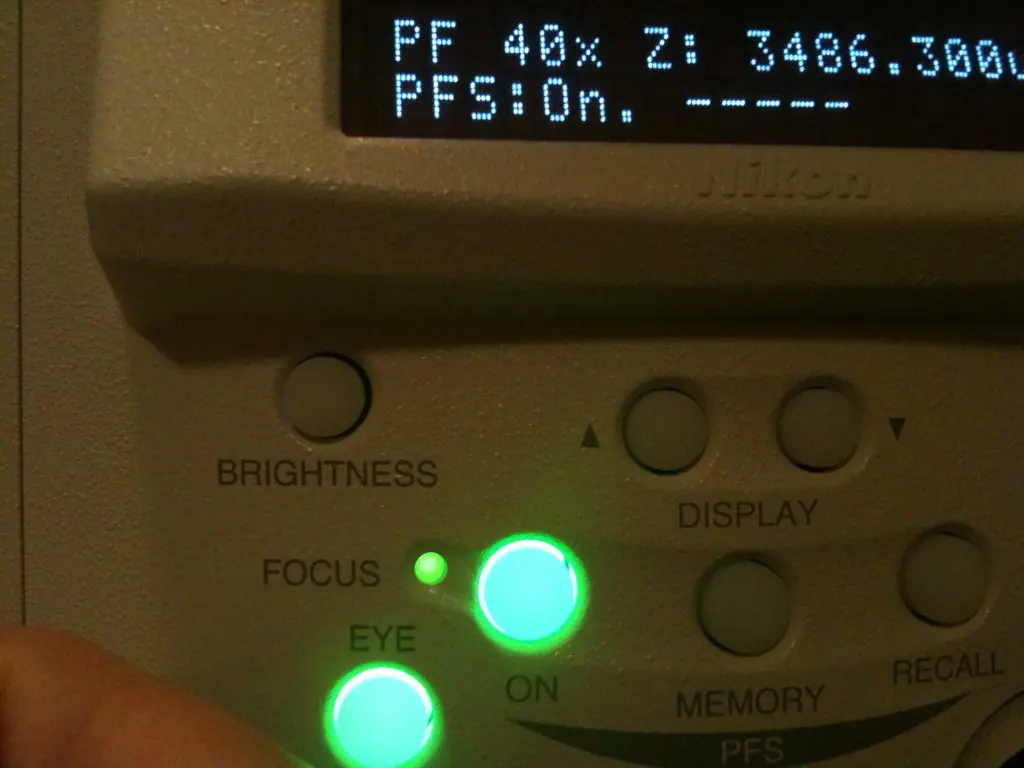
So, if you have a suitable specimen, how will the PFS work? The user controls are straightforward. At left is an image of the control face for a Ti-E with PFS. Note the buttons for “ON”, “Memory” and “Recall”. These are basically the only panel controls for the system. The small “Focus” light indicates when the laser sensor is receiving a signal. Basically, if you focus manually on your specimen, and look at the “focus” light, it should be illuminated green. If so press “on” and the PFS should beep and lock. If this works, use the external PFS offset knob to set the offset lens position, and begin your imaging.
On the other hand, what happens if things don’t work as they should? Here are some in-vivo pictures I snapped of various errors with the system. Each picture includes a comment which describes the problem.
Note that there are 3 beep codes and modes of behavior for the “on” light for the PFS.
Solid Green light = System on and locked
Flashing light = System on, and searching for a LED signal, but either is out of focus or specimen/lens combo is not achieving adequate RI change.
Long Solid beep sound, flashing light stops = System has timed out searching for the reflection feedback. Press “on” again to retry.
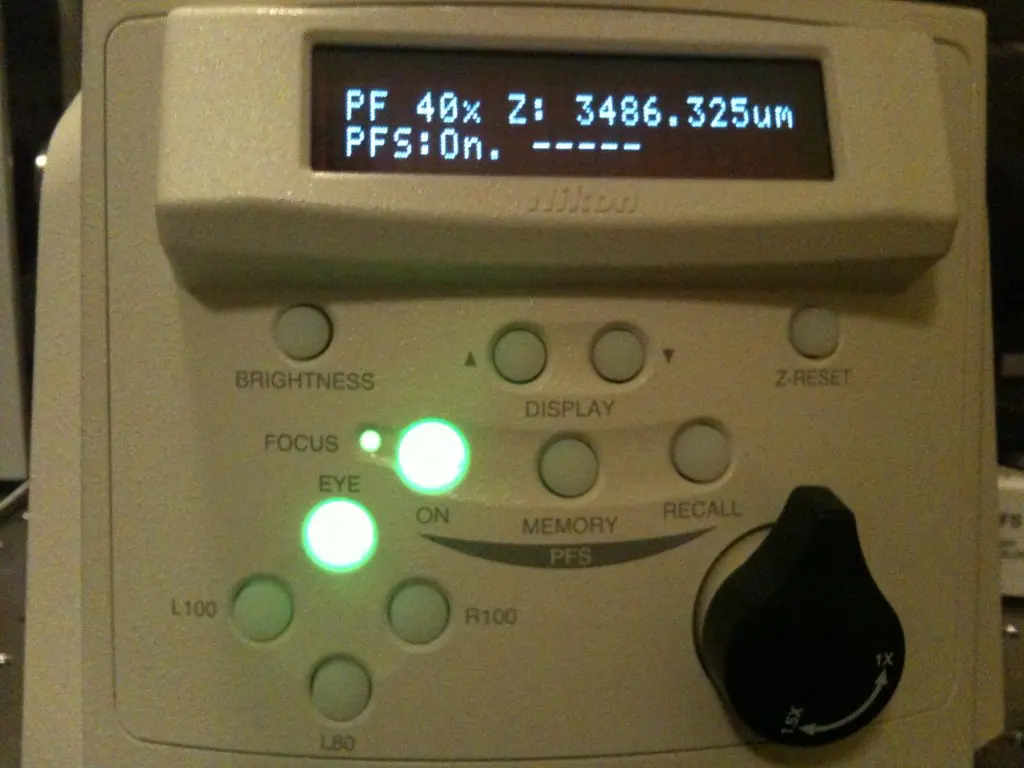
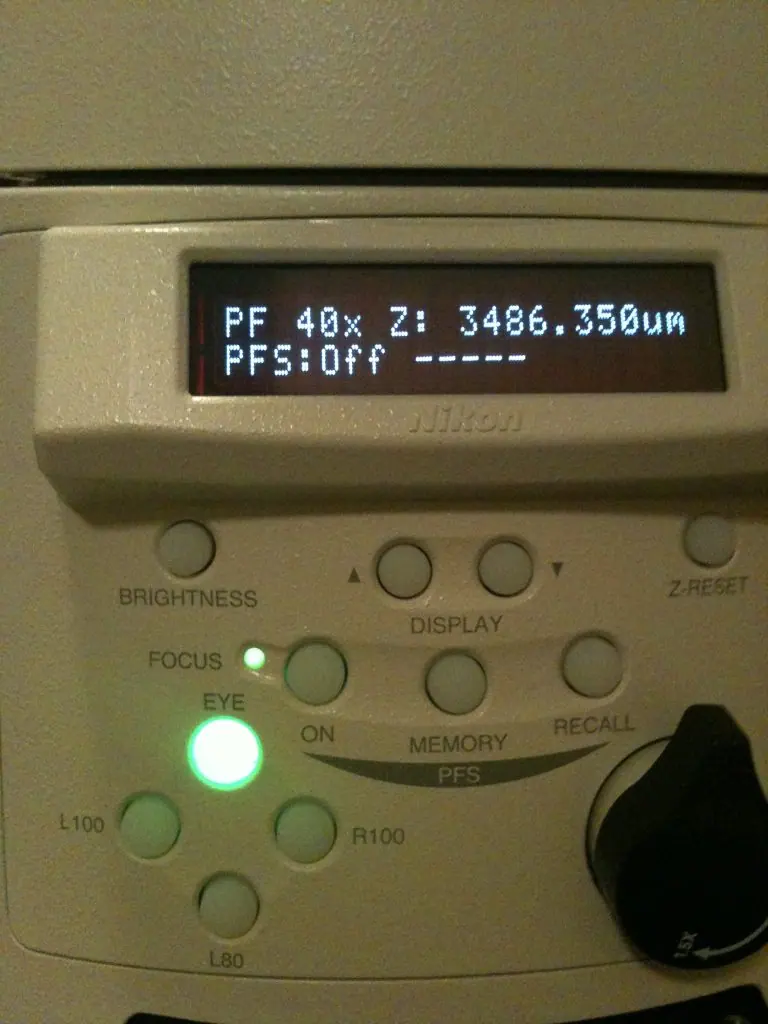
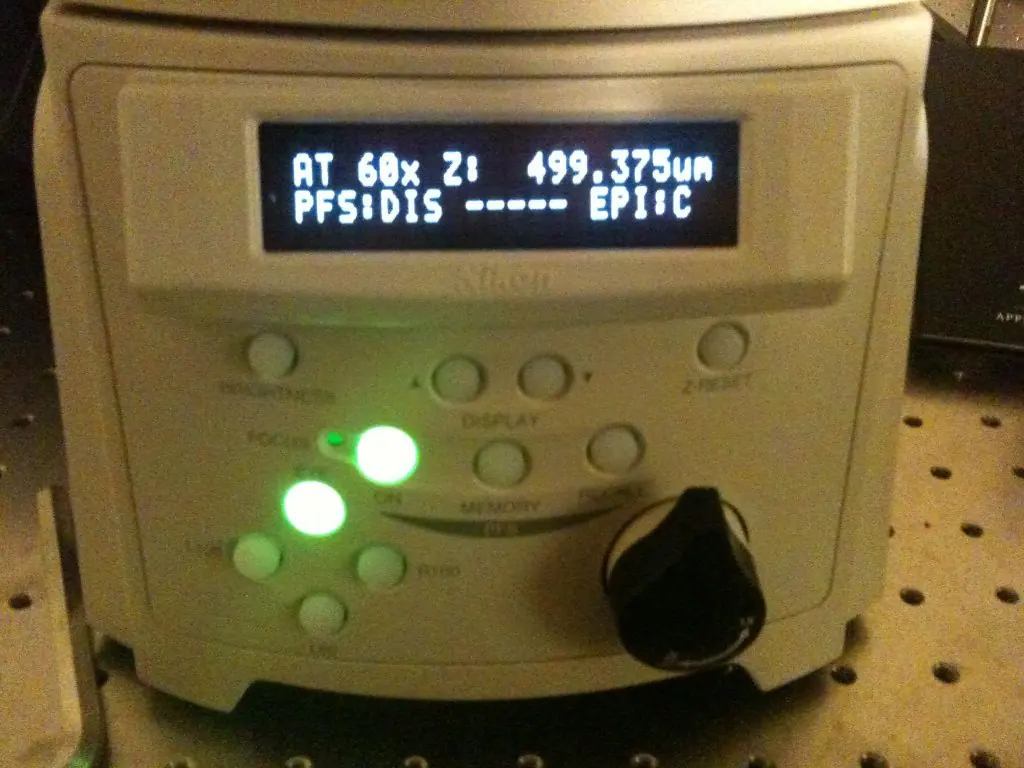
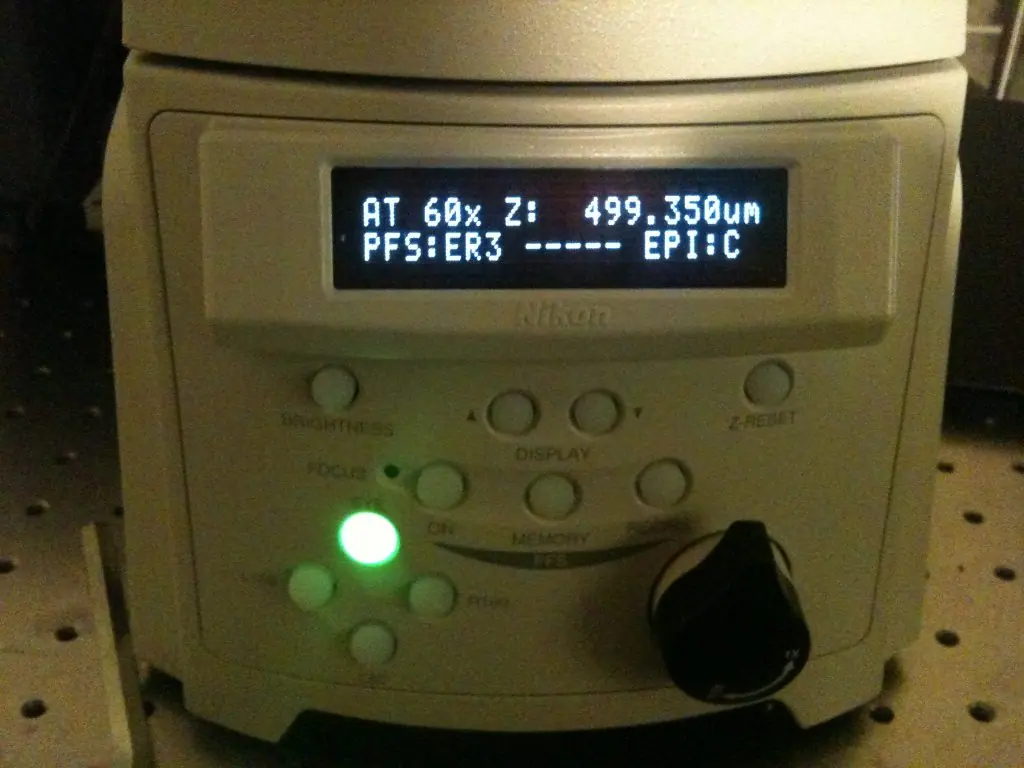
There are some other errors which may appear when using the PFS, depending on what might be wrong with the configuration. Below is a complete list of errors from Nikon’s troubleshooting guide for the PFS. If you can’t get your PFS system working with your specimen after going through this guide, feel free to contact me, or your local Nikon rep!
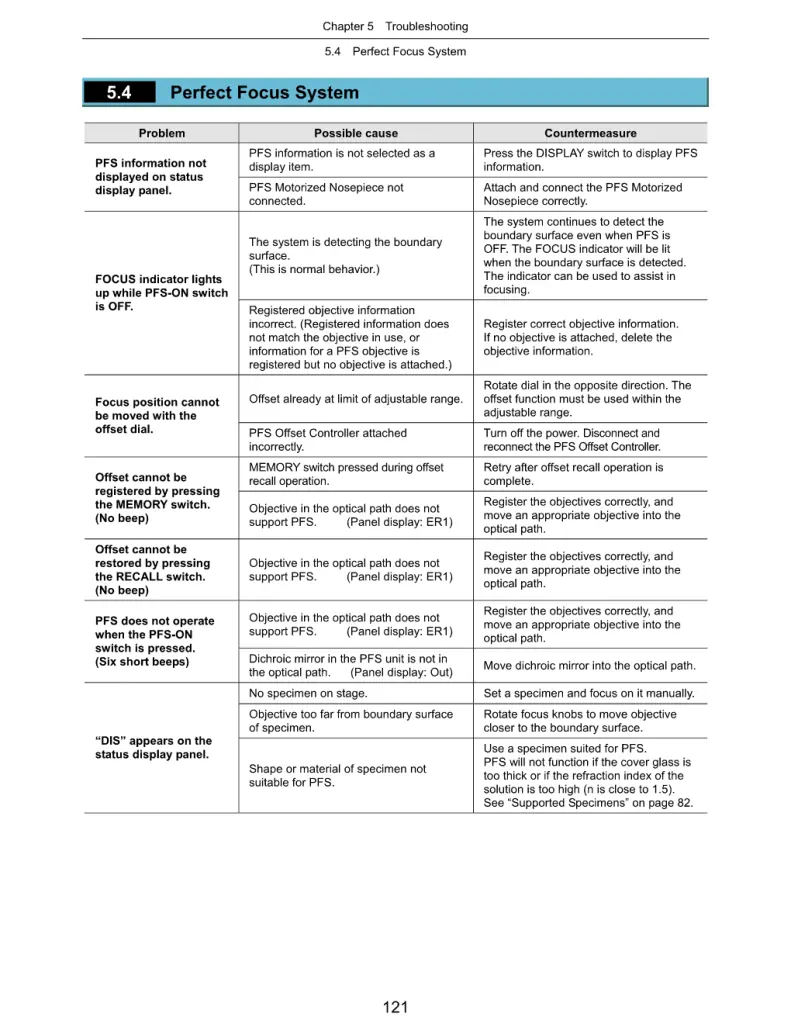
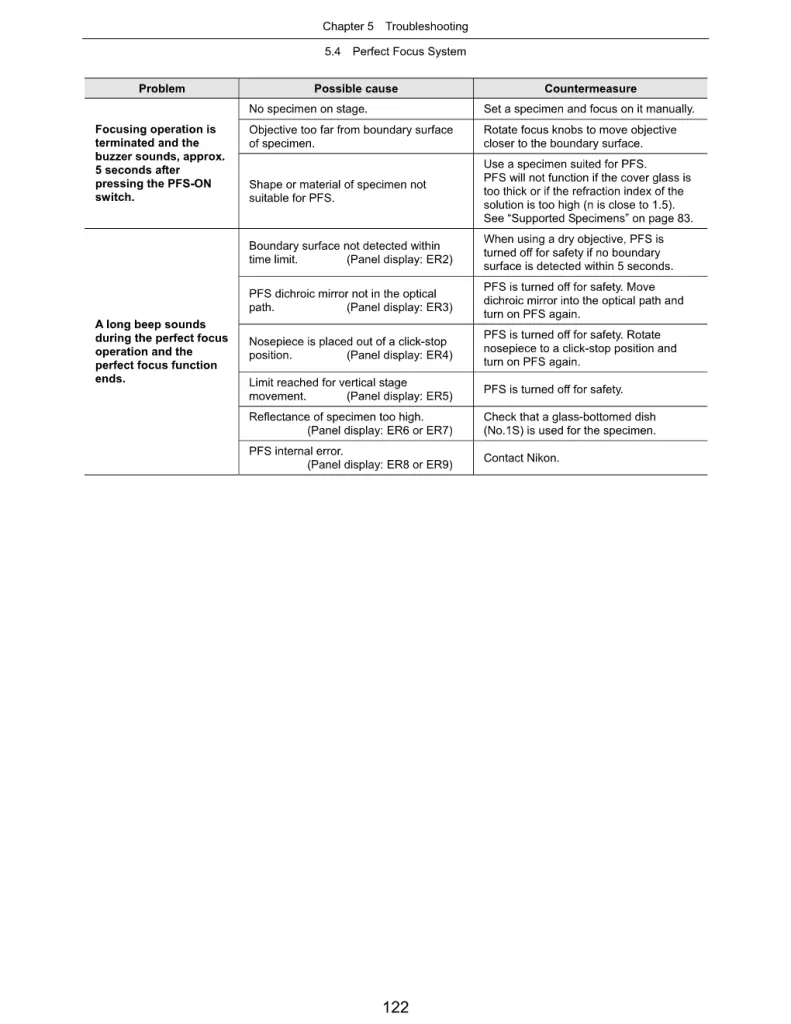
-Austin