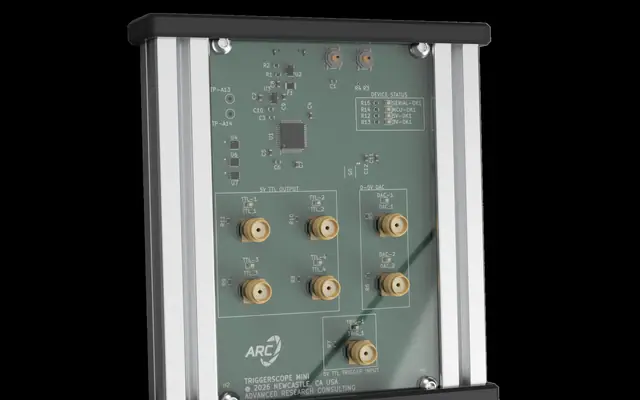
Triggerscope Mini Micro-Manager Setup
On this page
Below is a short video introducing the Triggerscope Mini, as well as demonstrating how to set it up in micromanager.
If you’re in a hurry, I’ve also outlined the basic steps below with screen shots.
Connect the triggerscope mini to a USB-2 compliant port, via it’s USB C connection cable (included).
Open micromanager, select the device configuration wizard, and browse to the add device page.
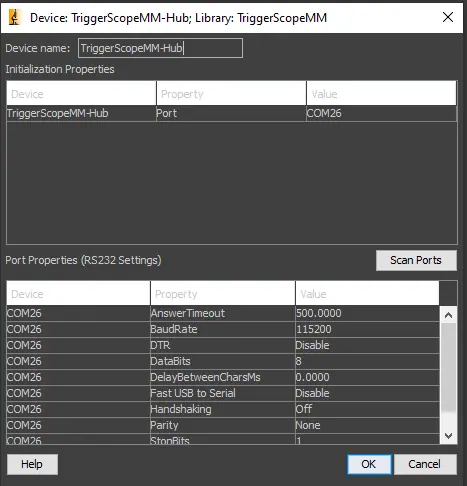
Scroll the device list until you see “Triggerscope-MM” expand that and select the -Hub device.
A window will appear, set the COM port to the port used by the triggerscope mini, and set the baud to 115,200, then click OK.
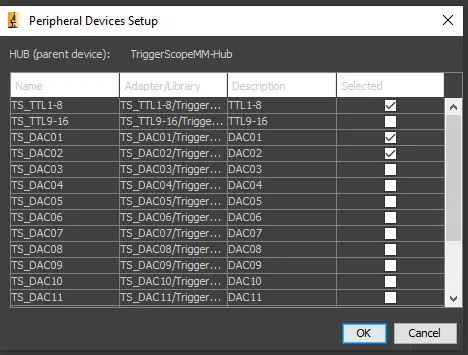
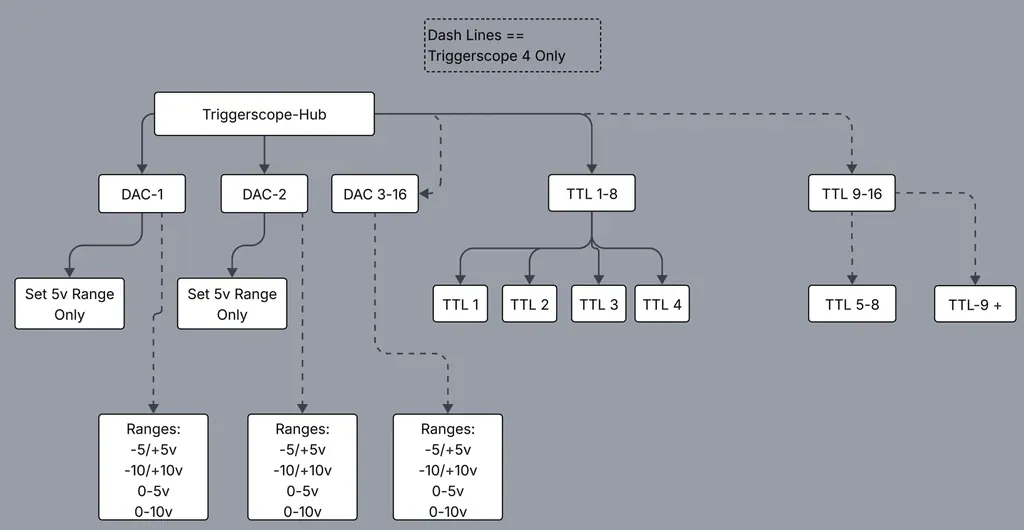
After a few seconds, a list of components will appear. Note this is for the full triggerscope, so we will only choose the TTL 1-8 Bank, and DAC 1 + DAC 2. Below is a basic chart showing what devices are supported on the mini vs the standard triggerscope.
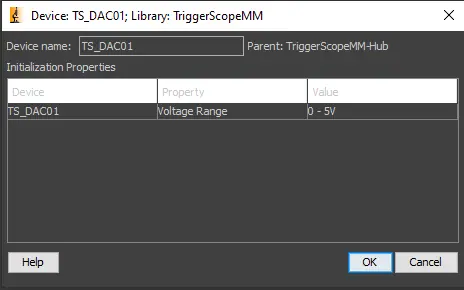
When prompted for the DAC voltages, only select 0-5V (default), and click OK.
That’s it! Follow the manager to complete the install. Once done, you’ll have the common TTL output control, DAC control, blanking, sequencing and other features of a standard triggerscope!